Red Velvet Cake Near Me: The Ultimate Delicious Delight!
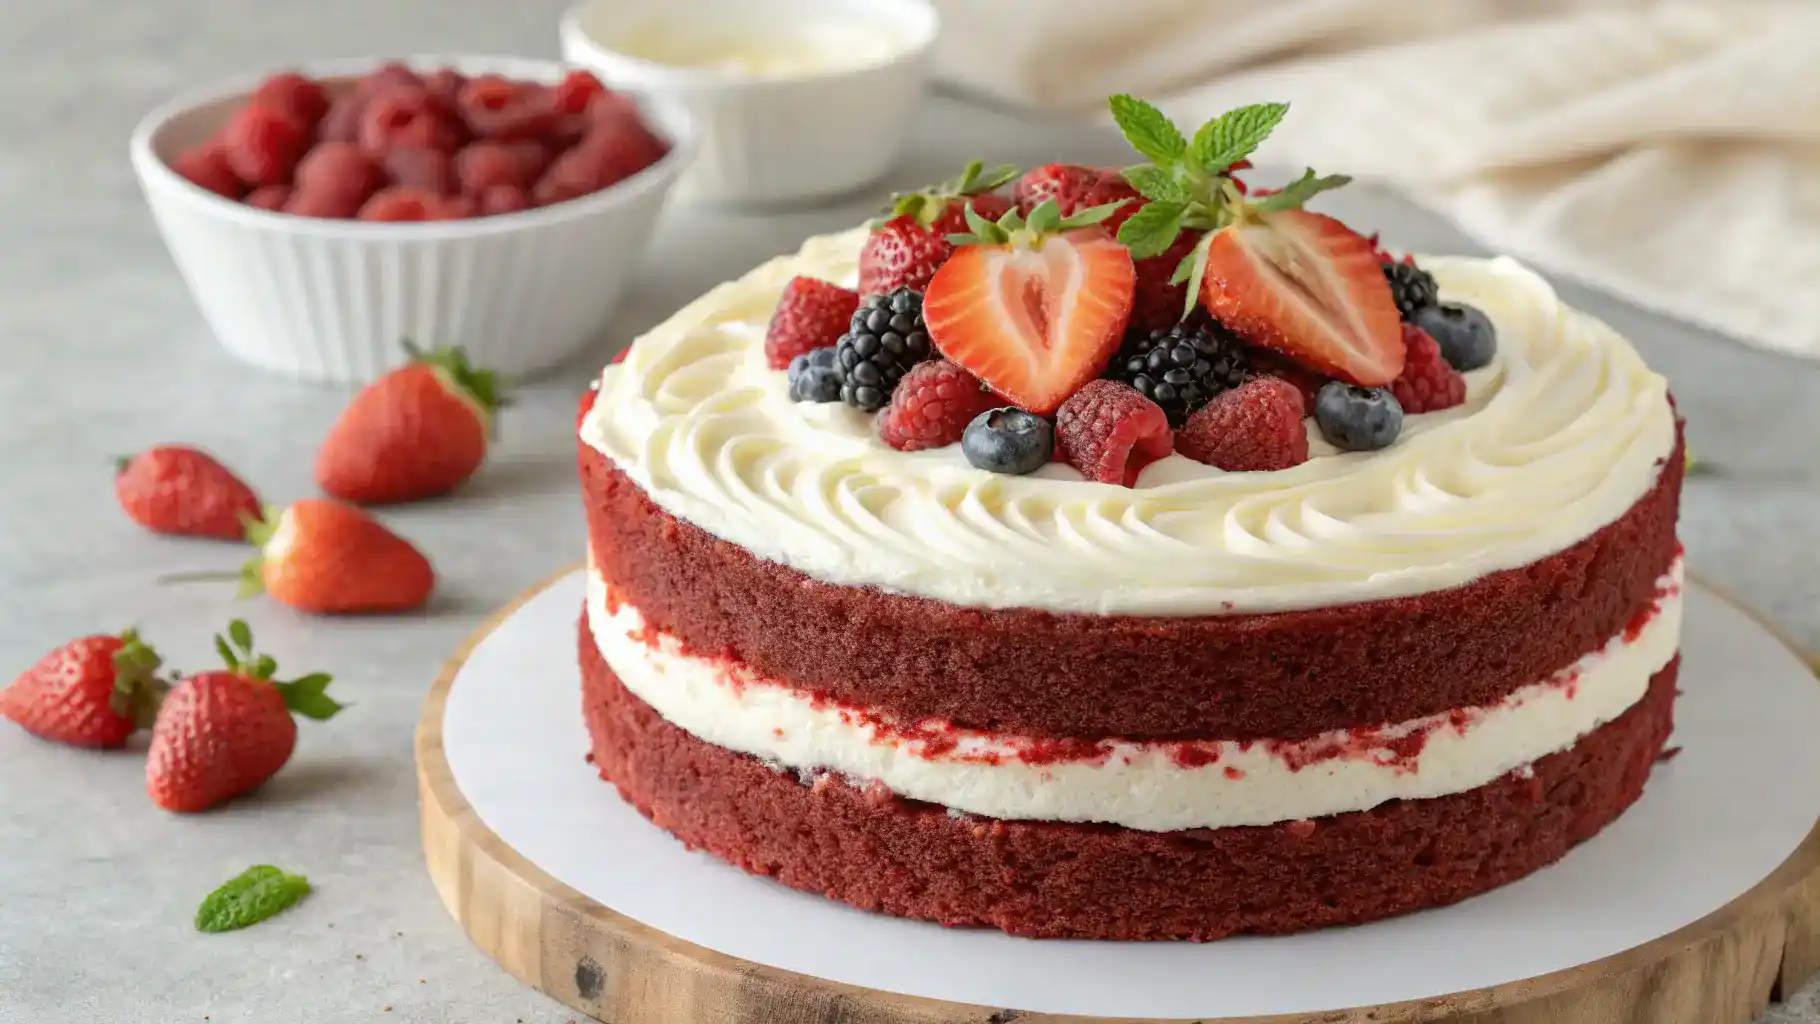
Red velvet cake near me is a luscious treat that beckons with its vibrant red hue and velvety texture. Imagine slicing into a moist, tender cake, layered with rich cream cheese frosting that melts in your mouth. This delightful dessert is made with simple ingredients like buttermilk and cocoa powder, ensuring a perfect balance of sweetness and tang. Topped with a sprinkle of cocoa or a drizzle of chocolate ganache, each bite is a celebration of flavor. Whether for a special occasion or just because, this cake is sure to bring joy to your day!

Why You’ll Love This Recipe
red velvet cake near me
Ingredients
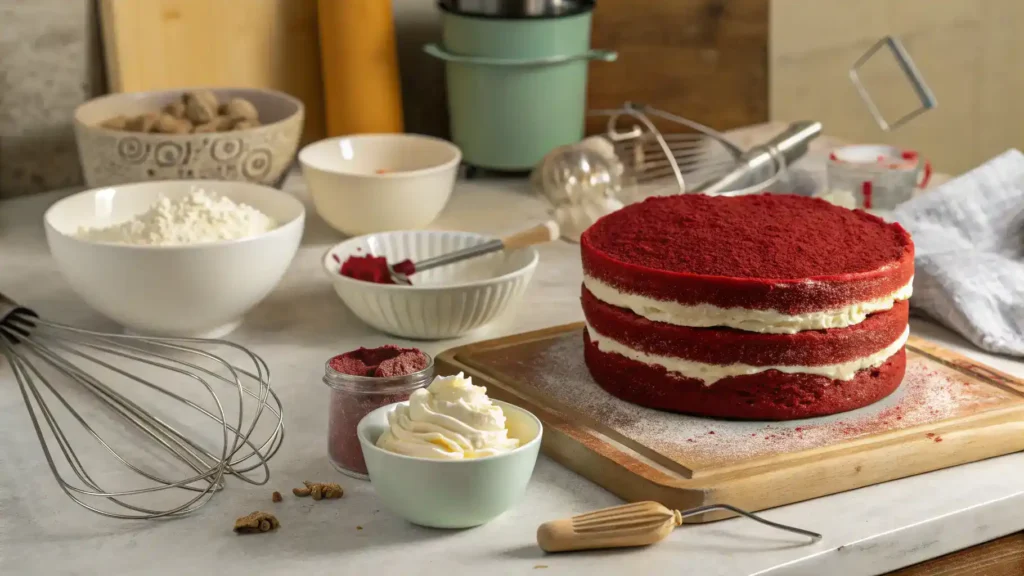
Equipment
Method
- Collect all the ingredients listed above.
- Set your oven to 350°F (175°C) and let it warm up while you prepare your batter.
- In a large bowl, whisk together the flour, sugar, baking soda, salt, and cocoa powder until well combined.
- In another bowl, mix the vegetable oil, buttermilk, eggs, red food coloring, vanilla extract, and white vinegar until smooth.
- Pour the wet mixture into the dry ingredients and gently stir until just combined. Don’t overmix; a little lumpiness is okay!
- Grease and flour two 9-inch round cake pans to ensure your cake comes out easily.
- Divide the batter evenly between the prepared pans and bake for 25-30 minutes. Check with a toothpick; it should come out clean!
- Let the cakes cool in the pans for 10 minutes, then turn them out onto wire racks to cool completely.
- Once cooled, spread your favorite cream cheese frosting between the layers and on top. Get creative with the decoration!
- Slice up your beautiful red velvet cake, serve it to friends and family, and watch the smiles appear!
Notes
| Nutrient | Amount |
|---|---|
| Calories | 350 |
| Fat | 15g |
| Protein | 4g |
| Carbs | 50g |
Indulge in a moist, velvety texture that melts in your mouth.
Enjoy a rich, vibrant flavor that’s perfect for any celebration.
Easy to make with simple ingredients you likely have at home.
Impress your friends and family with a stunning dessert presentation.
Customize it with your favorite frosting for a personal touch.
Recipe Snapshot
Feature Details
Category: Dessert
Cuisine: American
Prep Time: 20 minutes
Cook Time: 30 minutes
Total Time: 50 minutes
Dietary: Vegetarian
Serves: 8-10
Best Served: Chilled or at room temperature
Ingredients
All-purpose flour – a key ingredient for structure and texture.
Cocoa powder – adds a subtle chocolate flavor to the cake.
Baking soda – helps the cake rise and become fluffy.
Salt – enhances the overall flavor of the cake.
Granulated sugar – sweetens the cake and contributes to its moistness.
Vegetable oil – keeps the cake moist and tender.
Buttermilk – adds richness and a slight tang to the flavor.
Eggs – bind the ingredients together and provide structure.
Red food coloring – gives the cake its signature vibrant color.
Vanilla extract – adds a warm, sweet flavor to the cake.
Cream cheese – used for a rich and tangy frosting.
Powdered sugar – sweetens the frosting and gives it a smooth texture.
Milk – helps achieve the desired consistency for the frosting.
Ingredients with measurements will be right under the article in the recipe card.
How to Make the red velvet cake near me
Get ready to whip up a delightful red velvet cake that will make your taste buds dance!
Step 1: Gather Your Ingredients

Collect 2 cups all-purpose flour, 1 ½ cups sugar, 1 teaspoon baking soda, 1 teaspoon salt, 1 teaspoon cocoa powder, 1 cup vegetable oil, 1 cup buttermilk (or milk with a splash of vinegar), 2 large eggs, 2 tablespoons red food coloring, 1 teaspoon vanilla extract, and 1 teaspoon white vinegar.
Step 2: Preheat Your Oven
Set your oven to 350°F (175°C) and let it warm up while you prepare your batter.
Step 3: Mix Dry Ingredients
In a large bowl, whisk together the flour, sugar, baking soda, salt, and cocoa powder until well combined.
Step 4: Combine Wet Ingredients
In another bowl, mix the vegetable oil, buttermilk, eggs, red food coloring, vanilla extract, and white vinegar until smooth and cheerful.
Step 5: Blend It All Together
Pour the wet mixture into the dry ingredients and gently stir until just combined. Don’t overmix; a little lumpiness is okay!
Step 6: Prepare Your Pans
Grease and flour two 9-inch round cake pans to ensure your cake comes out easily.
Step 7: Bake the Cake
Divide the batter evenly between the prepared pans and bake for 25-30 minutes. Check with a toothpick; it should come out clean!
Step 8: Cool the Cakes
Let the cakes cool in the pans for 10 minutes, then turn them out onto wire racks to cool completely.
Step 9: Frost Your Creation
Once cooled, spread your favorite cream cheese frosting between the layers and on top. Get creative with the decoration!
Step 10: Enjoy Every Bite!
Slice up your beautiful red velvet cake, serve it to friends and family, and watch the smiles appear!
Pro Tips for Making the Recipe
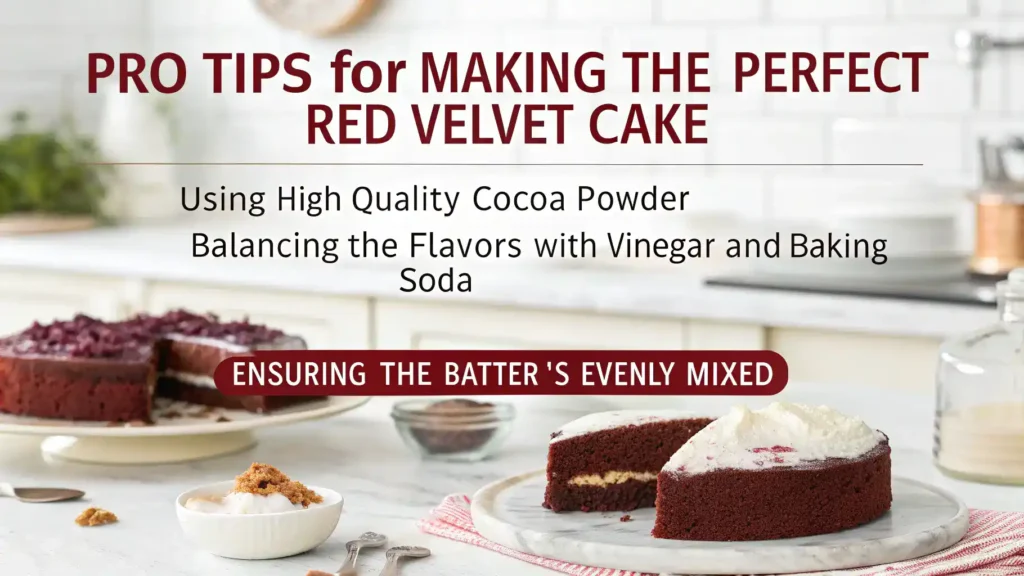
•Use room temperature ingredients for a smoother batter.
•Sift your dry ingredients to avoid lumps and ensure even mixing.
•Don’t overmix the batter; mix until just combined for a tender cake.
•For extra moisture, add a bit of sour cream or yogurt to the batter.
•Let the cake cool completely before frosting for a neater finish.
How to Serve
Delight in these serving suggestions for your red velvet cake:
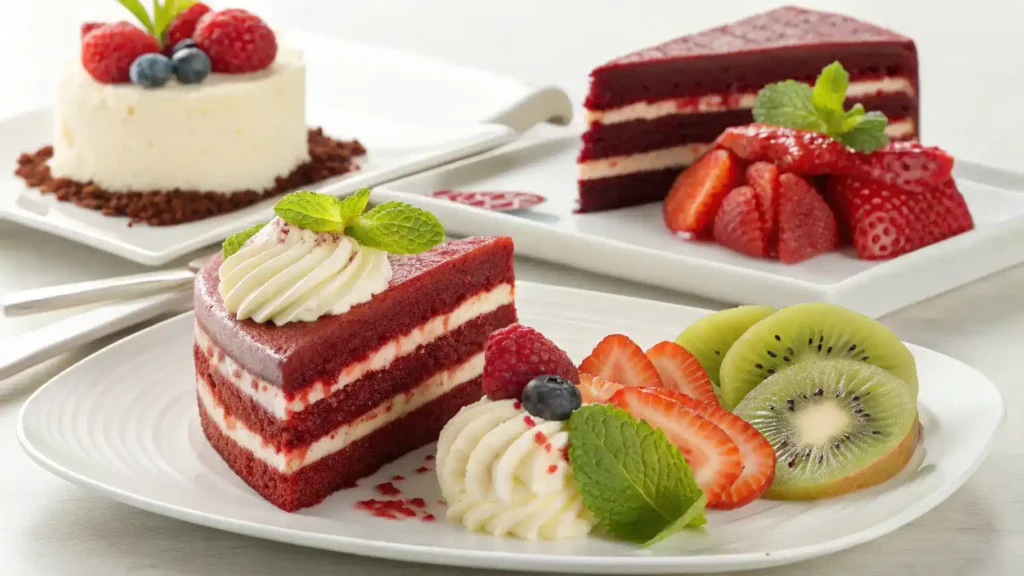
Top with a generous dollop of cream cheese frosting for that classic touch.
Serve with a scoop of vanilla ice cream for a delightful contrast.
Add fresh berries on the side for a burst of color and flavor.
Drizzle with chocolate sauce for an indulgent twist.
Pair with a cup of rich coffee or a refreshing iced tea.
Garnish with chopped nuts for added crunch and texture.
Slice into layers and create a layered dessert with whipped cream.
Enjoy with a side of fruit salad for a lighter option.
Make Ahead and Storage
Storing Leftovers
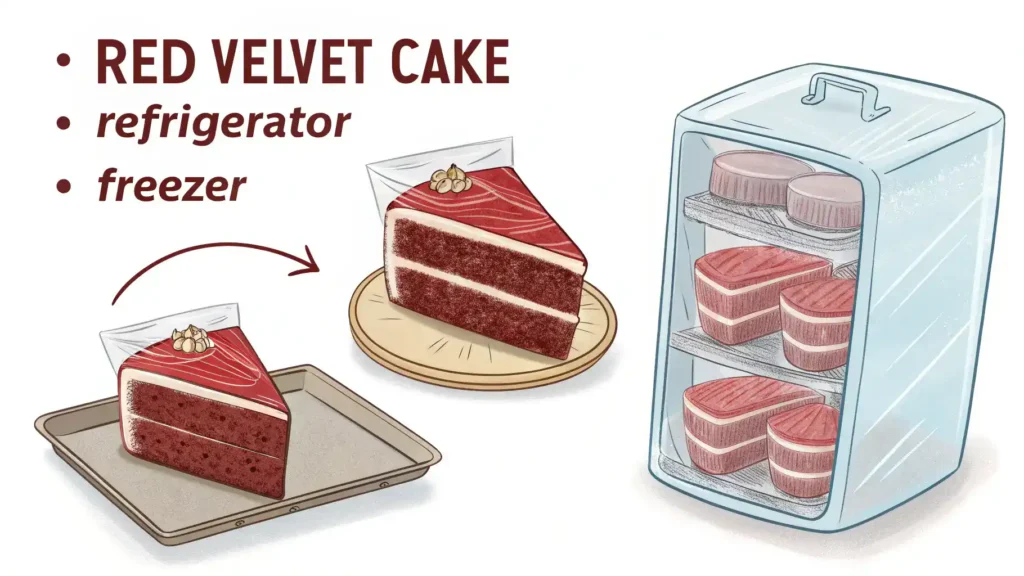
- Allow the cake to cool completely before storing.
- Wrap individual slices in plastic wrap.
- Place wrapped slices in an airtight container.
- Store in the refrigerator for up to 5 days.
- For whole cakes, cover with plastic wrap or foil.
Freezing
- Wrap the cake tightly in plastic wrap.
- Place in a freezer-safe container or bag.
- Label with the date and type of cake.
- Freeze for up to 3 months.
- Thaw in the refrigerator overnight before serving.
Reheating
- Preheat the oven to 350°F (175°C).
- Place slices on a baking sheet.
- Cover loosely with foil to prevent drying.
- Heat for about 10-15 minutes.
- Enjoy warm for the best flavor and texture.
FAQs
What can I use as a substitute for buttermilk in red velvet cake?
You can easily make a buttermilk substitute by mixing one cup of milk with one tablespoon of lemon juice or white vinegar. Let it sit for about 5-10 minutes, and it will thicken slightly, giving you that tangy flavor needed for your red velvet cake.
How do I achieve the perfect red color in my cake?
To get that vibrant red color, use high-quality red food coloring. You can also try using beet juice as a natural alternative. Just remember to adjust the amount of cocoa powder slightly if you’re using beet juice to maintain the right balance of flavors.
Can I make red velvet cake ahead of time?
Absolutely! You can bake the cake layers ahead of time and store them in an airtight container at room temperature for a day or in the fridge for up to a week. Just make sure to frost it closer to serving time to keep it fresh and delicious.
What frosting pairs best with red velvet cake?
The classic choice is cream cheese frosting, which complements the cake’s flavors beautifully. If you’re looking for a lighter option, whipped cream cheese frosting is a great alternative. Both will add that perfect touch of sweetness to your delightful red velvet cake!
Final Thoughts
There you have it, a delightful red velvet cake recipe just waiting for you to try! Remember, baking is all about having fun and enjoying the process. So, gather your ingredients, let your creativity flow, and indulge in this scrumptious treat. Whether it’s for a special occasion or just because, this cake is sure to bring smiles all around. Happy baking, friend!
Hungry for more delicious creations? Browse our site for more recipes and endless inspiration to spark your next culinary adventure!