Salted Caramel Crown: The Ultimate Sweet Delight Recipe
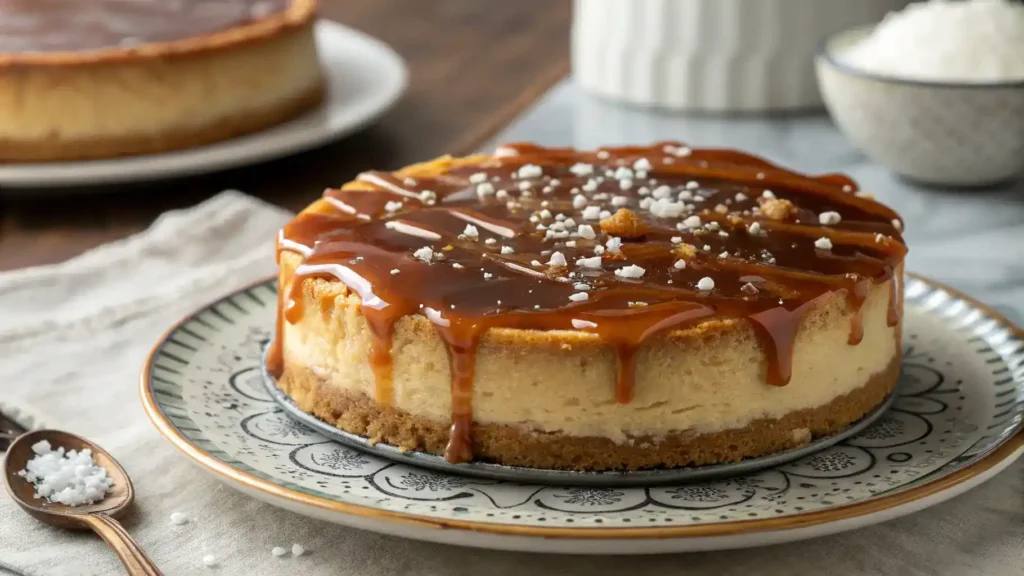
Salted caramel crown is a heavenly treat that will whisk you away to dessert paradise! Imagine a luscious layer of rich, buttery caramel, perfectly balanced with a sprinkle of sea salt, all atop a soft, fluffy base. This delightful recipe combines creamy coconut milk and vanilla extract to create a dreamy filling that melts in your mouth. Topped with a glossy caramel glaze and a touch of flaky sea salt, each bite is a sweet symphony of flavors. Get ready to impress your friends and family with this irresistible crown of sweetness!
Why You’ll Love This Recipe
- Indulge in the perfect balance of sweet and salty.
- Impress your friends and family with a stunning dessert.
- Easy to make with simple ingredients you already have.
- Perfect for any occasion, from casual gatherings to special celebrations.
- Each bite is a delightful explosion of flavor that will leave you craving more!
Table of Contents

salted caramel crown
Ingredients
Equipment
Method
- Collect all your ingredients: flour, sugar, butter, eggs, vanilla extract, baking powder, and of course, salted caramel sauce!
- Preheat your oven to 350°F (175°C) to get it nice and toasty for baking.
- In a bowl, whisk together flour, baking powder, and a pinch of salt. This will be your dry mix.
- In a separate bowl, beat the butter and sugar until light and fluffy. It should feel like a cloud!
- Crack in the eggs one at a time, mixing well after each. Add the vanilla extract for that lovely aroma.
- Gradually add the dry mix to the wet ingredients, stirring gently until just combined. No overmixing here!
- Gently fold in half of the salted caramel sauce, creating swirls of sweetness throughout the batter.
- Grease a baking pan or line it with parchment paper for easy removal later.
- Pour the batter into the prepared pan, spreading it evenly. Don’t forget to save some caramel for drizzling!
- Place the pan in the oven and bake for 25-30 minutes, or until a toothpick comes out clean.
- Let it cool for a few minutes, then drizzle the remaining salted caramel on top. Yum!
- Slice into pieces, serve, and watch everyone enjoy your delightful creation!
Recipe Snapshot
| Feature | Details |
|---|---|
| Category: | Dessert |
| Cuisine: | American |
| Prep Time: | 15 minutes |
| Cook Time: | 30 minutes |
| Total Time: | 45 minutes |
| Dietary: | Vegetarian |
| Serves: | 8 |
| Best Served: | Chilled |
Ingredients
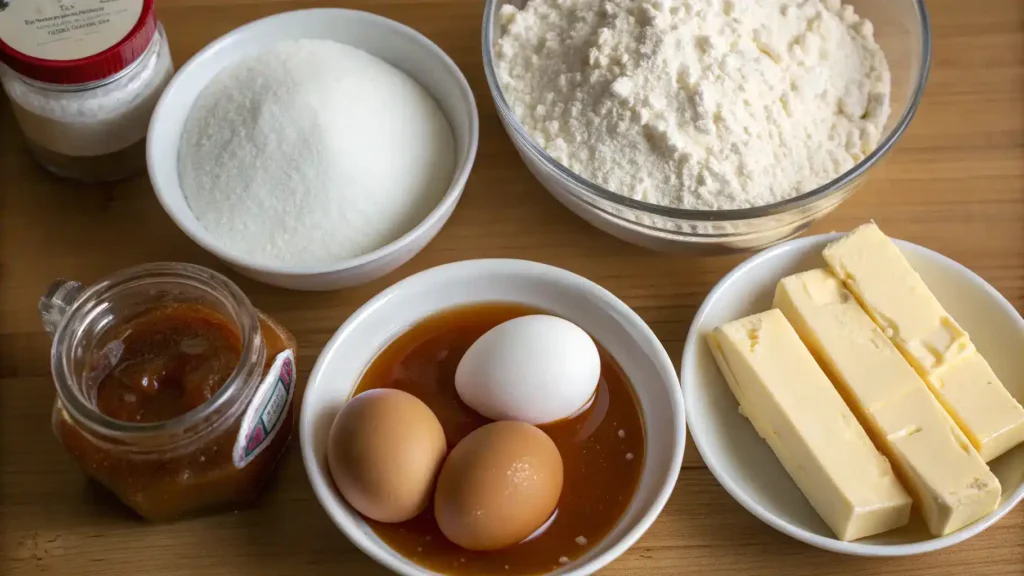
- All-purpose flour – a key base for structure and texture.
- Granulated sugar – for sweetness and caramelization.
- Brown sugar – adds moisture and a rich flavor.
- Unsalted butter – provides richness and helps with texture.
- Eggs – binds ingredients together and adds moisture.
- Vanilla extract – enhances the overall flavor profile.
- Salt – balances sweetness and enhances flavors.
- Heavy cream – creates a luscious caramel sauce.
- Sea salt – for that perfect salted finish.
- Chocolate chips – adds a delightful chocolatey touch.
Ingredients with measurements will be right under the article in the recipe card.
How to Make the salted caramel crown
Get ready to create your delicious Salted Caramel Crown with these easy steps!

Step 1: Gather Your Ingredients
Collect all your ingredients: flour, sugar, butter, eggs, vanilla extract, baking powder, and of course, salted caramel sauce!
Step 2: Preheat the Oven
Preheat your oven to 350°F (175°C) to get it nice and toasty for baking.
Step 3: Mix the Dry Ingredients
In a bowl, whisk together flour, baking powder, and a pinch of salt. This will be your dry mix.
Step 4: Cream the Butter and Sugar
In a separate bowl, beat the butter and sugar until light and fluffy. It should feel like a cloud!
Step 5: Add Eggs and Vanilla
Crack in the eggs one at a time, mixing well after each. Add the vanilla extract for that lovely aroma.
Step 6: Combine Wet and Dry Ingredients
Gradually add the dry mix to the wet ingredients, stirring gently until just combined. No overmixing here!
Step 7: Fold in the Salted Caramel
Gently fold in half of the salted caramel sauce, creating swirls of sweetness throughout the batter.
Step 8: Prepare the Baking Pan
Grease a baking pan or line it with parchment paper for easy removal later.
Step 9: Pour the Batter
Pour the batter into the prepared pan, spreading it evenly. Don’t forget to save some caramel for drizzling!
Step 10: Bake to Perfection
Place the pan in the oven and bake for 25-30 minutes, or until a toothpick comes out clean.
Step 11: Cool and Drizzle
Let it cool for a few minutes, then drizzle the remaining salted caramel on top. Yum!
Step 12: Serve and Enjoy
Slice into pieces, serve, and watch everyone enjoy your delightful creation!
Pro Tips for Making the Recipe
• Use high-quality sea salt for the perfect balance of sweet and salty flavors.
• Allow your caramel to cool slightly before drizzling it over the crown for a beautiful finish.
• Experiment with different nuts, like pecans or almonds, for added texture and flavor.
• Make sure your butter is at room temperature for a smoother caramel consistency.
• Don’t rush the cooling process; letting it set properly enhances the taste and texture.
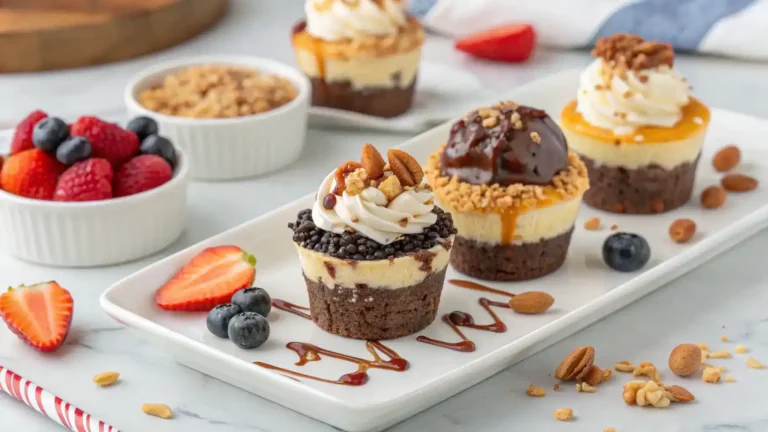
How to Serve

- Top with a sprinkle of sea salt for an extra flavor boost.
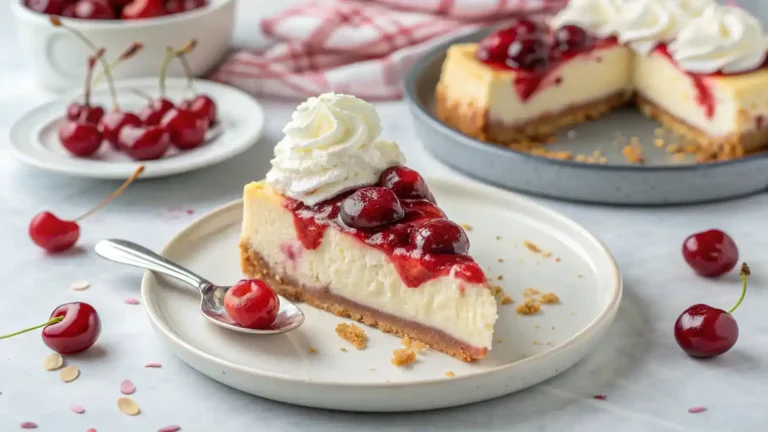
- Pair with a scoop of vanilla or caramel ice cream for a creamy contrast.
- Serve alongside fresh fruit like sliced apples or pears for a refreshing touch.
- Drizzle with chocolate sauce for a decadent twist.
- Enjoy with a cup of coffee or chai tea for a cozy afternoon treat.
- Garnish with crushed nuts for added crunch and texture.
- Use as a filling for cupcakes or pastries for a delightful surprise.
- Serve on a charcuterie board with cheeses and crackers for a sweet-savory combo.
Make Ahead and Storage
Proper storage ensures your Salted Caramel Crown stays delicious for later enjoyment.
Storing Leftovers
- Allow the crown to cool completely before storing.
- Wrap it tightly in plastic wrap or aluminum foil.
- Place it in an airtight container for extra protection.
- Store in the refrigerator for up to 3 days.
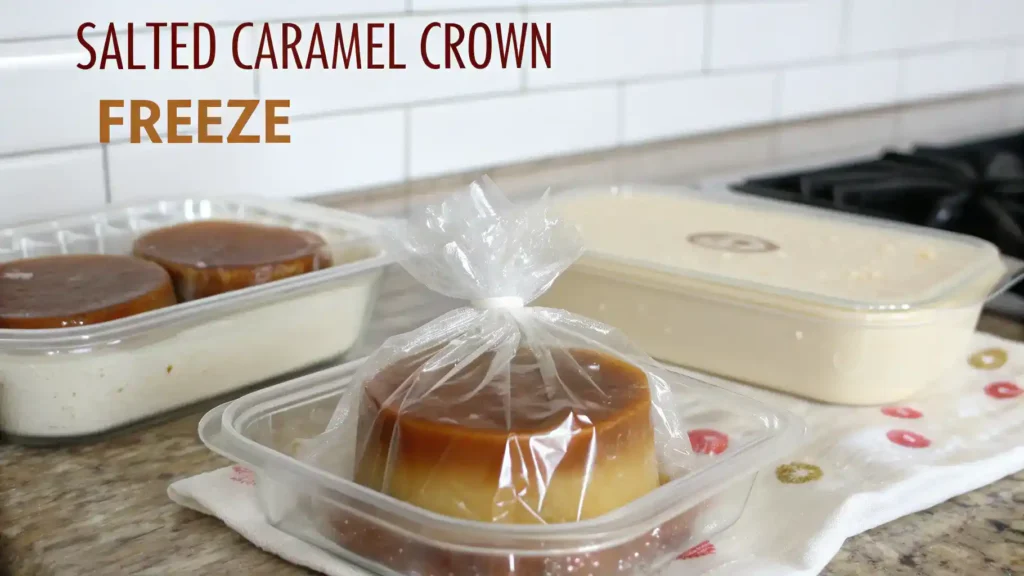
Freezing
- Wrap the cooled crown in plastic wrap securely.
- Place it in a freezer-safe container or bag.
- Label with the date and freeze for up to 2 months.
Reheating
- Thaw the crown in the refrigerator overnight.
- Reheat in a preheated oven at 350°F (175°C) for 10-15 minutes.
- Cover with foil to prevent over-browning.
- Enjoy warm for the best texture and taste.
FAQs
What can I use instead of heavy cream in the salted caramel crown recipe?
You can substitute heavy cream with coconut cream or a mixture of milk and butter. This will give you a creamy texture without compromising the flavor.
How can I make the salted caramel crown gluten-free?
To make the recipe gluten-free, simply use gluten-free flour in the dough. There are many great blends available that work perfectly in baking.
Can I store leftover salted caramel crowns?
Absolutely! Store them in an airtight container at room temperature for up to three days, or refrigerate for a week. Just make sure they are completely cooled before storing.
What should I do if my caramel is too hard?
If your caramel turns out too hard, you can gently reheat it with a splash of water or cream over low heat until it softens. Stir continuously to achieve a smooth consistency.
Final Thoughts
There you have it—the delightful salted caramel crown that’s sure to bring a smile to your face! This recipe is not just simple; it’s a sweet adventure waiting to happen. So gather your loved ones, whip up this treat, and let the warm, gooey goodness take you back to those carefree days. Enjoy every bite, and don’t forget to share the joy!
Hungry for more delicious creations? Browse our site for more recipes and endless inspiration to spark your next culinary adventure!