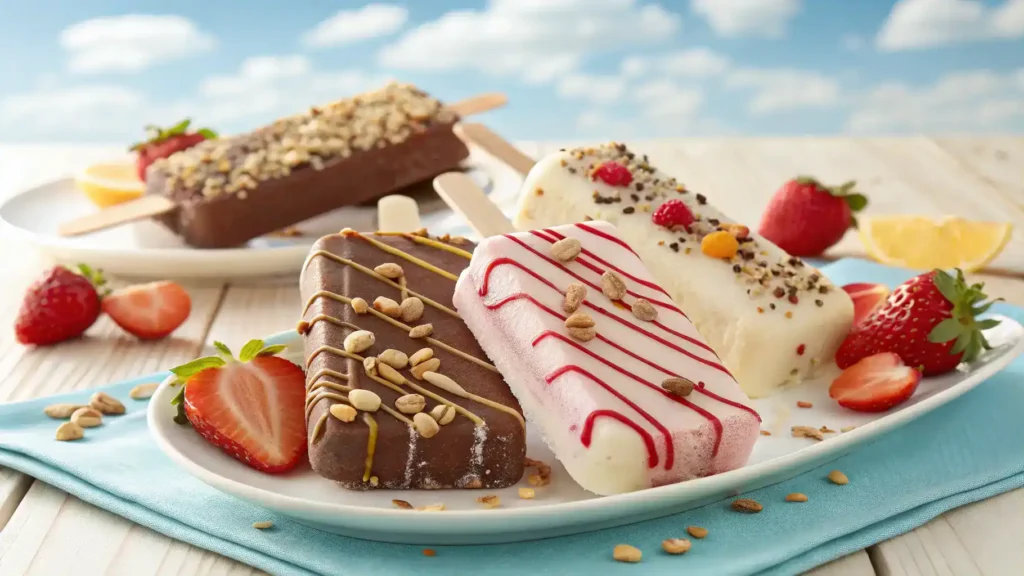
Ice Cream Bars: The Ultimate Delight for Summer Treats!
Ice Cream Bars are the perfect way to cool down and indulge during those warm summer days! Imagine creamy, dreamy vanilla ice cream swirled with luscious chocolate or vibrant fruit flavors, all encased in a crunchy, golden coating. These delightful treats are easy to make at home, using simple ingredients like coconut milk and honey for a touch of sweetness. With endless flavor combinations, you can customize each bar to suit your taste buds. Grab your popsicle molds and get ready to create a frozen masterpiece that will have everyone smiling!
Why You’ll Love This Recipe
- Perfectly creamy and dreamy texture that melts in your mouth.
- Customizable flavors to suit your taste buds—get creative!
- Easy to make with simple ingredients you probably have at home.
- Great for sharing at summer parties or enjoying solo on a hot day.
- Healthier than store-bought options, made with love and care.
Table of Contents
Ice Cream Bars
Ingredients
Equipment
Method
- Collect your favorite ice cream, chocolate, and toppings. Choose flavors that excite you!
- Grab some popsicle molds or a baking dish. Make sure they are clean and ready to use.
- Using a scoop, fill the molds with your chosen ice cream. Pack it in tightly for a solid bar.
- Place the filled molds in the freezer. Let them freeze for at least 4 hours or until solid.
- In a microwave-safe bowl, melt your chocolate. Stir until smooth and creamy.
- Remove the ice cream bars from the molds. Dip each one into the melted chocolate.
- While the chocolate is still wet, sprinkle your favorite toppings on top. Get creative!
- Place the dipped bars back in the freezer for 30 minutes. This helps the chocolate set.
- Once set, take them out and enjoy your homemade ice cream bars. Share with friends or keep them all to yourself!
Recipe Snapshot
| Feature | Details |
|---|---|
| Category: | Dessert |
| Cuisine: | American |
| Prep Time: | 15 minutes |
| Cook Time: | 0 minutes |
| Total Time: | 4 hours |
| Dietary: | Gluten-free, Dairy-free options available |
| Serves: | 6 bars |
| Best Served: | Chilled |
Ingredients
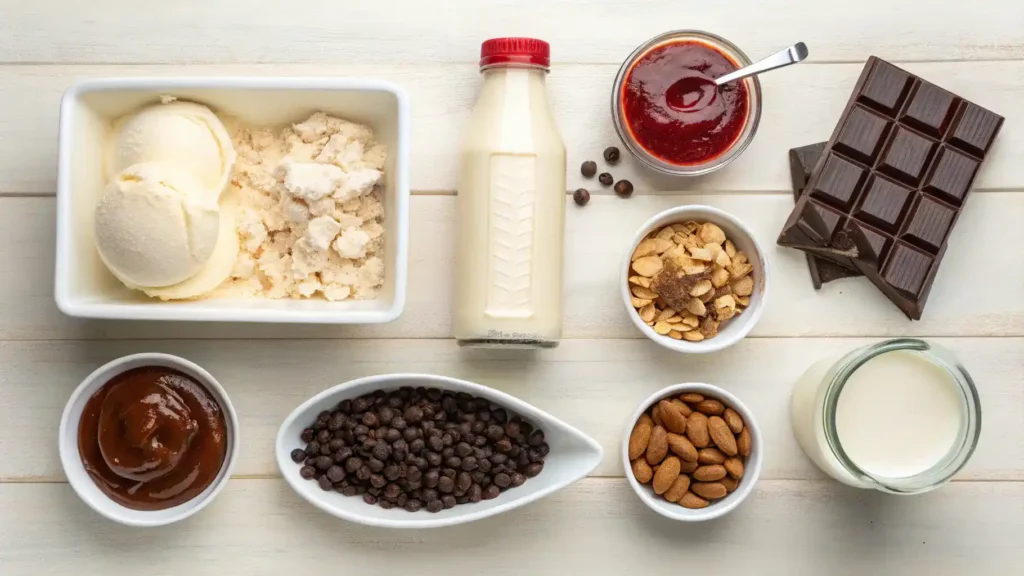
- Ice Cream – The star of the show; choose your favorite flavor for a delightful base.
- Milk – Adds creaminess; opt for whole milk for a richer texture.
- Heavy Cream – Enhances the smoothness and richness of your bars.
- Sweetener – Use sugar, honey, or a sugar substitute to add sweetness.
- Vanilla Extract – A classic flavor enhancer that elevates the taste.
- Chocolate Chips – For a delightful crunch; choose dark, milk, or white chocolate.
- Fruit Puree – Adds natural sweetness and flavor; fresh or frozen works well.
- Nuts – Provides texture and a nutty flavor; chop them finely for even distribution.
Ingredients with measurements will be right under the article in the recipe card.
How to Make the Recipe
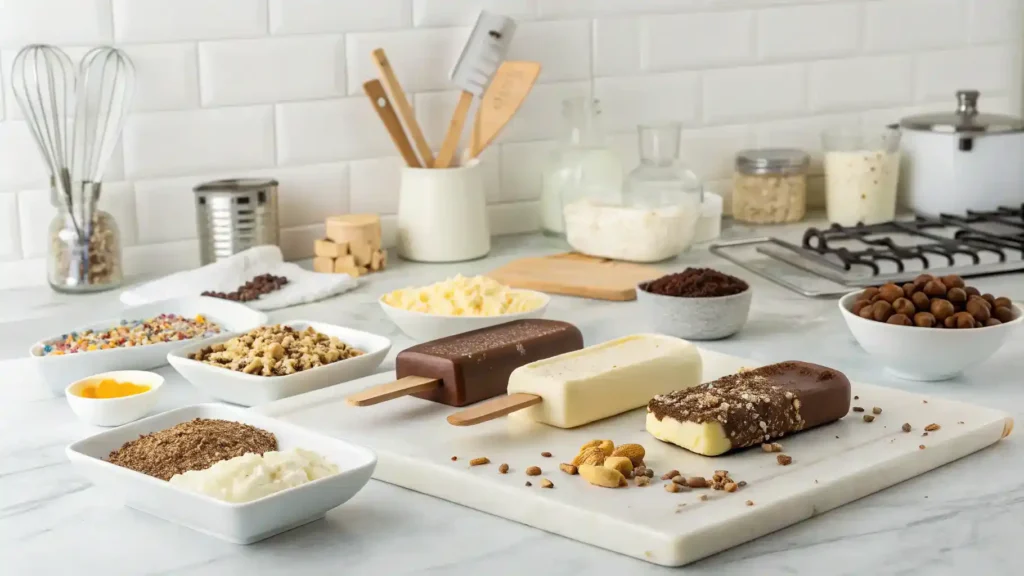
Get ready to create your own delicious ice cream bars with these simple steps!
Step 1: Gather Your Ingredients
Collect your favorite ice cream, chocolate, and toppings. Choose flavors that excite you!
Step 2: Prepare the Molds
Grab some popsicle molds or a baking dish. Make sure they are clean and ready to use.
Step 3: Scoop the Ice Cream
Using a scoop, fill the molds with your chosen ice cream. Pack it in tightly for a solid bar.
Step 4: Freeze the Ice Cream
Place the filled molds in the freezer. Let them freeze for at least 4 hours or until solid.
Step 5: Melt the Chocolate
In a microwave-safe bowl, melt your chocolate. Stir until smooth and creamy.
Step 6: Dip the Bars
Remove the ice cream bars from the molds. Dip each one into the melted chocolate.
Step 7: Add Toppings
While the chocolate is still wet, sprinkle your favorite toppings on top. Get creative!
Step 8: Freeze Again
Place the dipped bars back in the freezer for 30 minutes. This helps the chocolate set.
Step 9: Enjoy Your Treats!
Once set, take them out and enjoy your homemade ice cream bars. Share with friends or keep them all to yourself!
Pro Tips for Making the Recipe
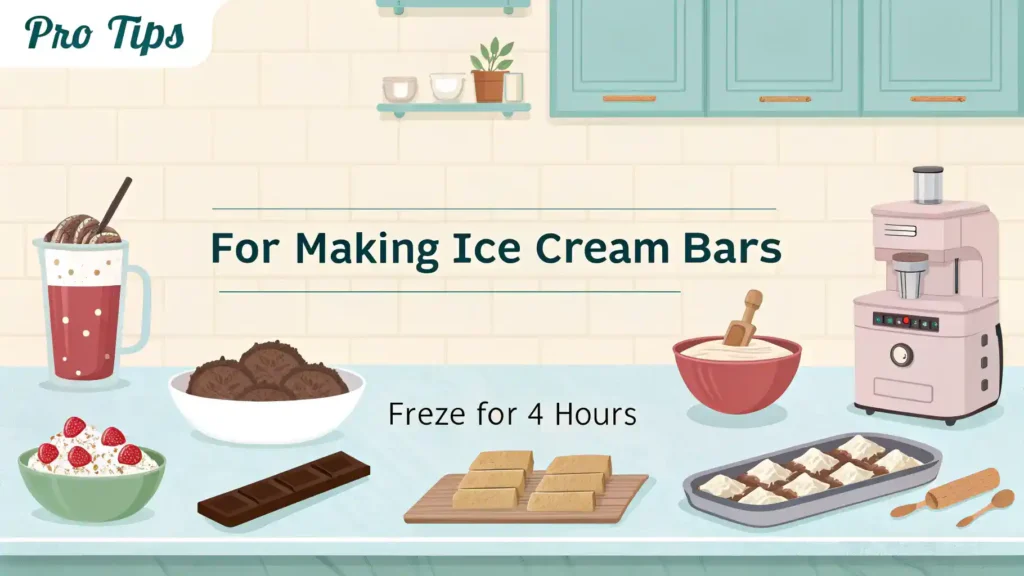
- Use ripe fruits for natural sweetness and vibrant flavor.
- Experiment with different yogurt types for creaminess—Greek yogurt works wonders!
- Freeze your molds for at least 4 hours for the perfect texture.
- Try adding a pinch of sea salt to enhance the sweetness.
- For a fun twist, layer different flavors in your molds for a colorful surprise!
How to Serve
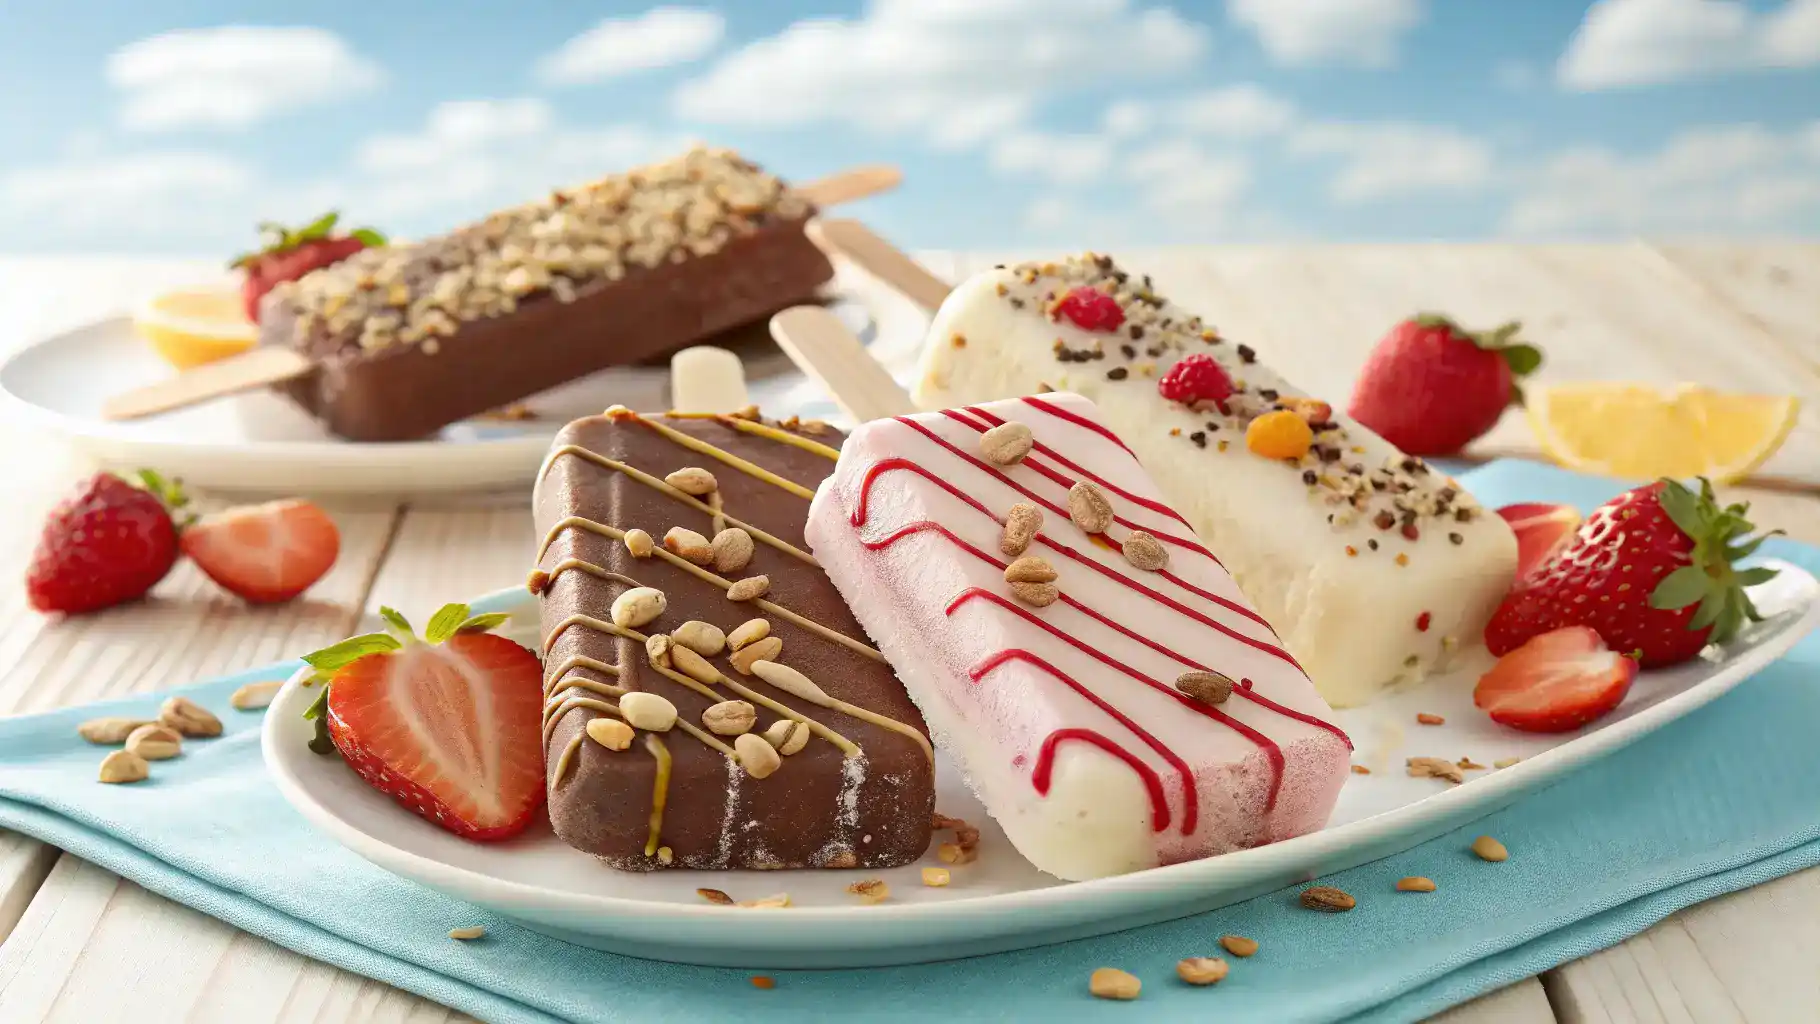
Get ready to elevate your ice cream bars experience with these fun serving suggestions!

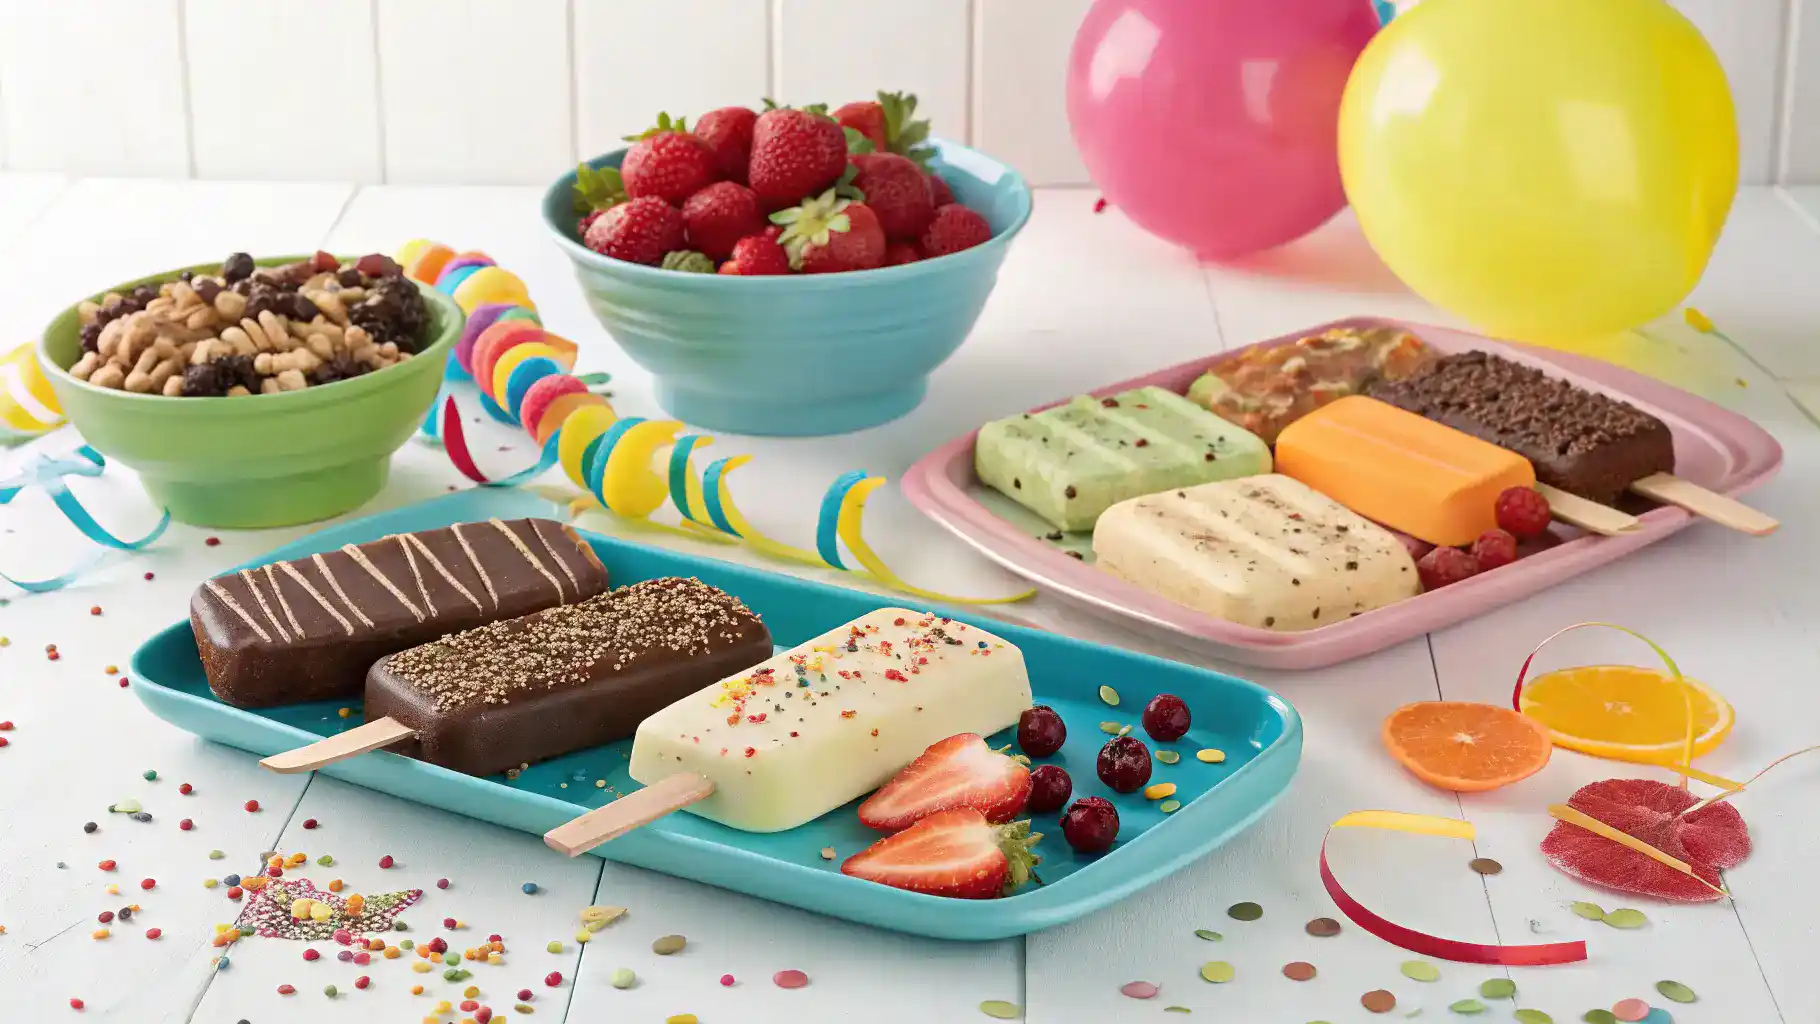
- Serve on a colorful platter for a vibrant display.
- Pair with fresh fruit like strawberries, bananas, or raspberries.
- Drizzle with chocolate or caramel sauce for extra sweetness.
- Top with crushed nuts or sprinkles for added crunch.
- Offer a side of whipped cream for dipping or dolloping.
- Make a sundae bar with various toppings for a DIY treat.
- Serve with a scoop of sorbet for a refreshing twist.
- Wrap in a waffle cone for a fun, portable option.
- Pair with a scoop of your favorite non-dairy ice cream for variety.
- Enjoy with a glass of iced tea or lemonade for a refreshing combo.
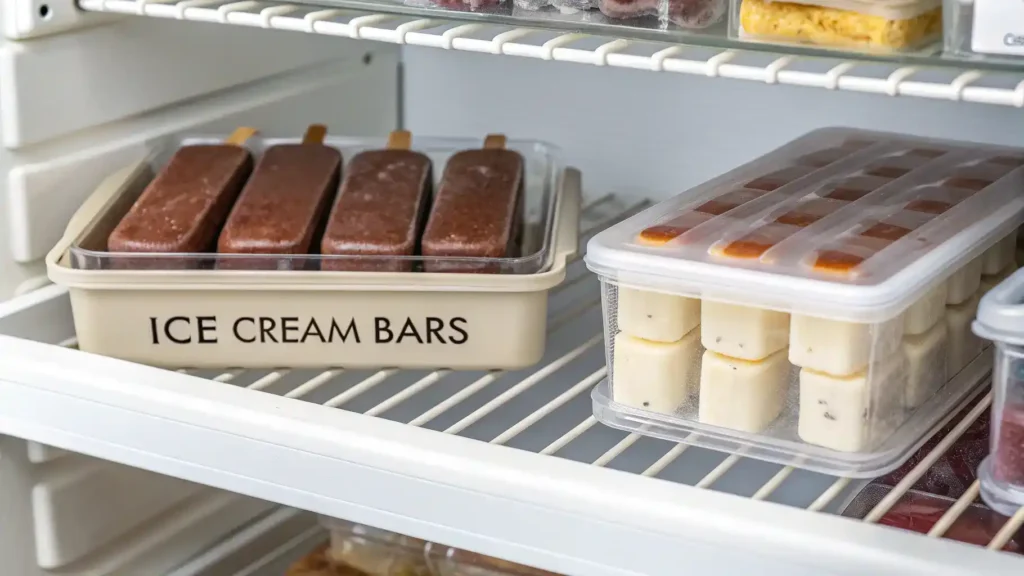
Make Ahead and Storage
Storing leftovers is essential for enjoying your ice cream bars later. Follow these tips:
Storing Leftovers
- Wrap each bar individually in plastic wrap.
- Place wrapped bars in an airtight container.
- Label the container with the date.
- Store in the freezer for up to two weeks.
Freezing
- Ensure bars are fully set before freezing.
- Use parchment paper between layers to prevent sticking.
- Keep the freezer temperature at 0°F (-18°C) or lower.
Reheating
- Let bars sit at room temperature for a few minutes.
- Use a microwave on low power for 10-15 seconds if needed.
- Enjoy immediately for the best texture and taste.
FAQs
What are the best toppings for ice cream bars?
When it comes to toppings, the sky’s the limit! You can use crushed nuts, sprinkles, chocolate chips, or fresh fruits. Get creative and mix and match to find your favorite combination!
Can I make ice cream bars dairy-free?
Absolutely! You can use coconut milk, almond milk, or any other dairy-free alternative to create delicious ice cream bars. Just ensure your other ingredients are also dairy-free!
How long do ice cream bars last in the freezer?
Ice cream bars can last up to two weeks in the freezer if stored properly in an airtight container. Just make sure to keep them well-wrapped to prevent freezer burn!
Can I customize the flavors of my ice cream bars?
Definitely! You can mix in your favorite flavors, like vanilla, chocolate, or fruit purees, to create unique ice cream bars. Experiment with different combinations to find your perfect flavor!
Final Thoughts
As you dive into your homemade ice cream bars, let the sweet nostalgia wash over you! These delightful treats are not just simple to make; they’re a joyful celebration of summer. So grab your favorite flavors, share them with friends, and relish every creamy bite. Remember, the best moments are made sweeter with a little creativity and a lot of love. Enjoy your delicious adventure!
Hungry for more delicious creations? Browse our site for more recipes and endless inspiration to spark your next culinary adventure!